
| BEADS - Chop Index 11-14-2008 Coleus Chop: Making small round natasha beads using coleus and generic leaf cane. Tap the thumbnail pictures to see the enlarged picture. Captions are below the thumbnails. | ||
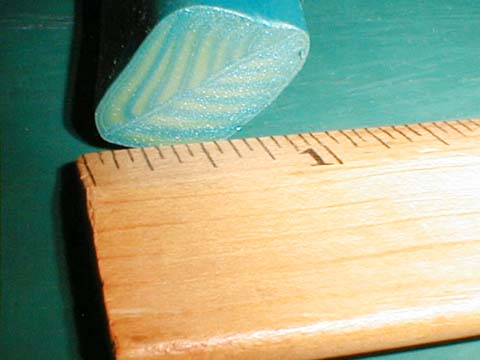
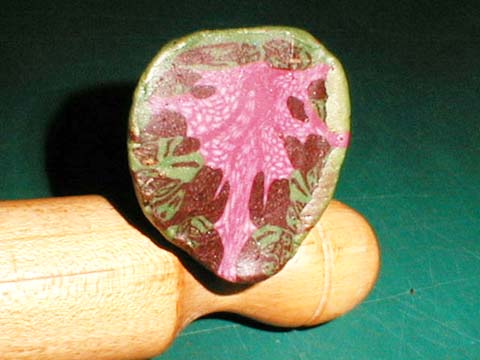 Coleus Cane This is the large end of the coleus cane. 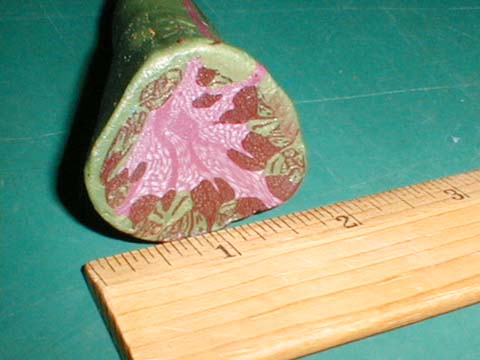 Coleus cane wide side I'm going to be using the ruler in this tutorial to show the size of the items. This is how wide the coleus cane is on the largest end. The cane is a cone shape.  Coleus cane length This shows how the coleus cane had been reduced to a cone shape, nifty trick to get different size leaves when slicing for a 3D mini. 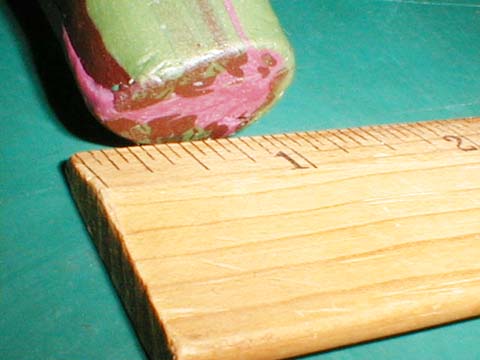 Coleus cane narrow end This is the size of the coleus cane's narrow end. 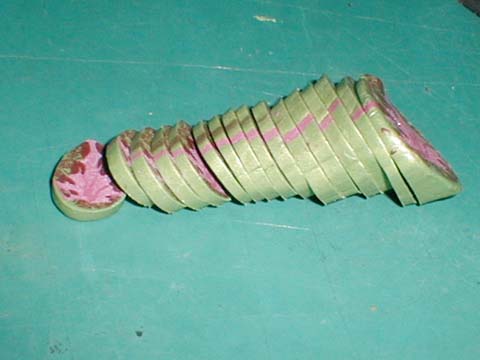 Coleus cane sliced Don't be afraid to just slice the whole cane. You'll have time to be afraid when it comes to chopping it up. |
||
 Coleus cane slices laid out This is how many slices I got from the coleus cane.  Coleus cane first chop pass I take a few slices of the cane and cut on the diagonal for the first pass. The second pass cuts diagonally going in the other direction.  Coleus cane chop After the second diagonal chop pass this is how it looks. Now do that to all your slices. 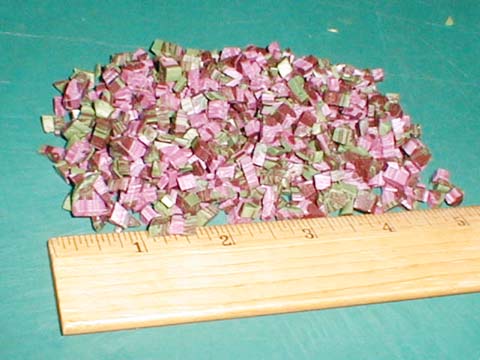 Coleus cane all chopped up This is how much chop that coleus cane produced. It's not enough for what I want to do so I'm going to chop up another cane to mix with it. |
||
 Generic Leaf cane end This is a generic leaf cane, jelly roll blend segments with a chevron flip. 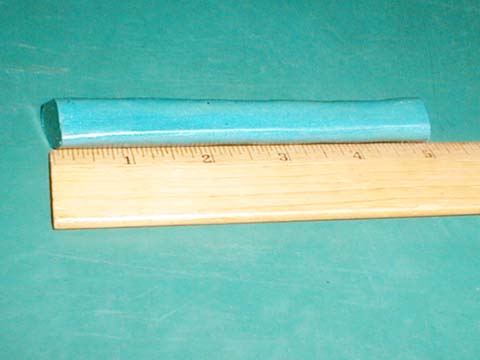 Generic leaf cane length This is how long the generic leaf cane is that I'm going to chop.  Generic leaf cane slices I got a lot of slices from that generic leaf cane. Now to chop them up. 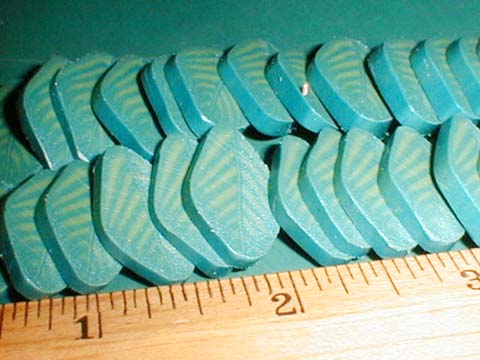 Generic leaf cane slice close up Just looking closely at the generic leaf cane. The reason why I'm chopping this up is I didn't get as much contrast with the colors as I'd have liked. 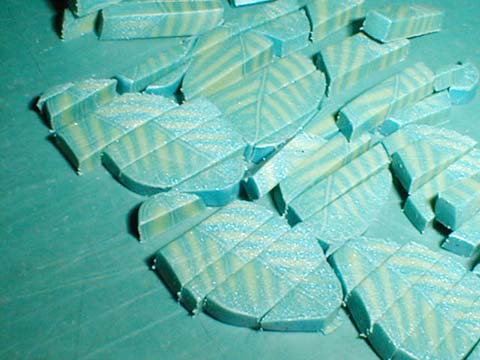 Generic leaf cane first pass chop Ok, remember we slice on the diagonal going in one direction for the first pass. |
||
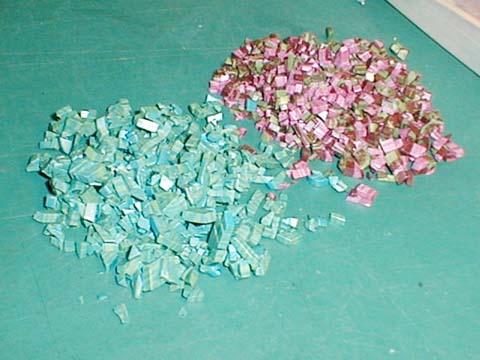 Two Piles of chop After the generic leaf cane gets two diagonal passes in the chop process these two piles are the result of all that chopping. Now to toss them together. 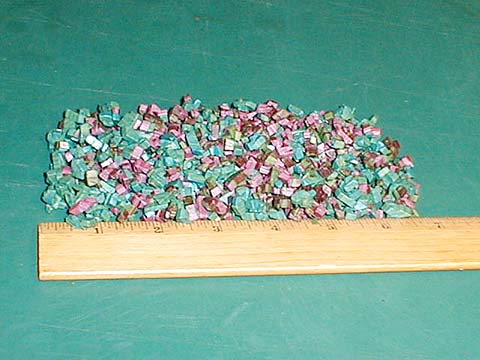 Two cane chop and toss mix Now that's enough chop to make enough beads. Also the generic leaf cane added more green. The coleus cane had too much purple for my taste. 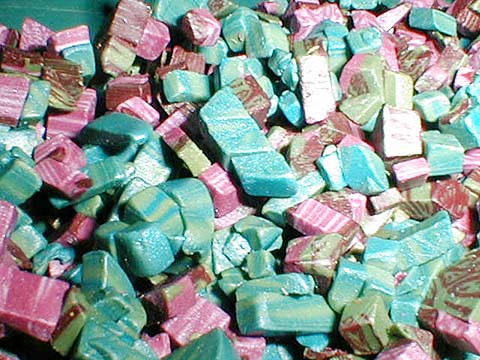 Two mix chop close up I love close ups. Don't be afraid to chop up cane. It doesn't always have to be cane of grave disappointment. It can be perfectly good cane. It makes better chop and toss. 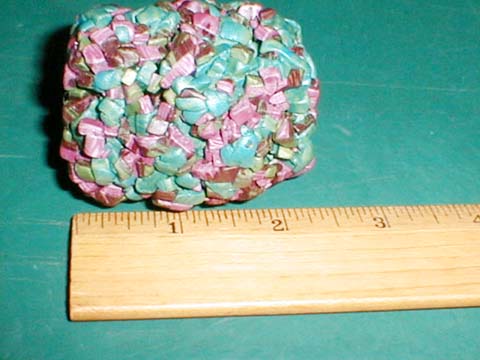 Two mix chop balled up We start by taking all that chop and slowly squeezing the air out of it. Do not twist or pull, just compress. Twisting and pulling will distort the designs in the chopped bits. 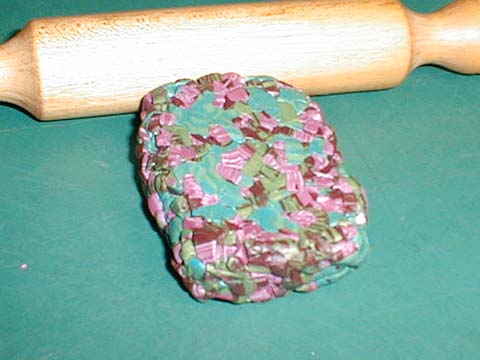 Rolling pin to shape mass I use this small wooden rolling pin to start shaping the compressed mass of chop. Roll over one side, turn and roll, turn and roll, do all 6 sides to get a rectangle log. |
||
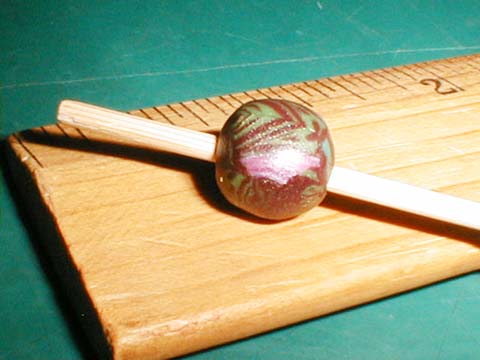
 Rectangle log of two cane mix This is how big a rectangle those two canes made after chopping, tossing, and rolling it into a shape. 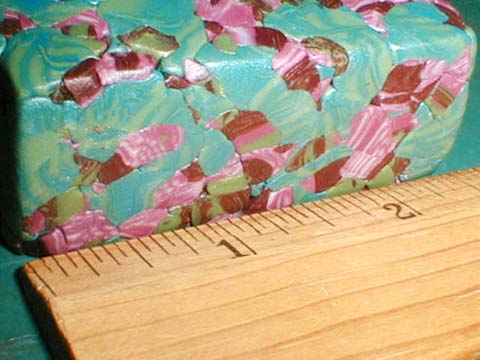 Rectangle two cane mix close up I want to show you how the designs in the chopped bits didn't get distorted because we didn't twist or pull the clay while shaping it. The coleus cane had a lot of nifty designs in the different parts of the cane and I wanted to see those designs. 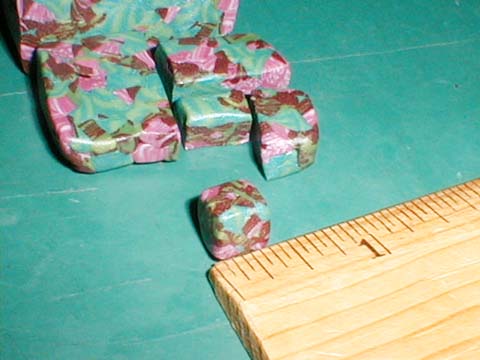 First bead of coleus and generic leaf cane mix The size of the first slice is as wide as you want your bead tall. Then cut in half, take a half and cut it in half again, repeat until you get a segment the size of your small bead. Shape into a square. 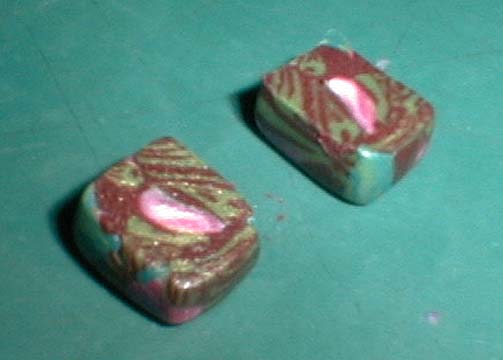 First natasha cut Take that square and cut it in half and open like a book. 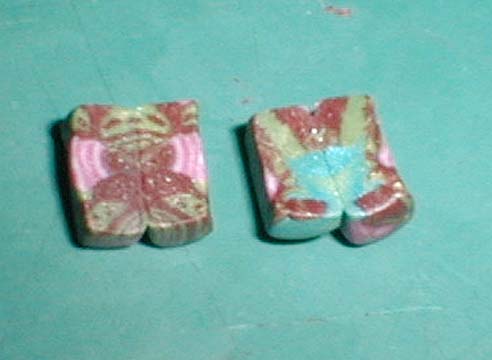 Second and third cut of the natasha bead Take those two halves and cut them in half and open like a book. You will take those two mirror images and connect them back to back, making four mirror images on the bead square. 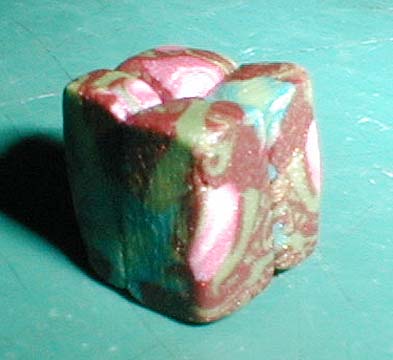 First bead square See how the top looks? Where the four cane sections meet isn't necessarily really the center, use your eyes before you skewer this bead down the middle. |
||
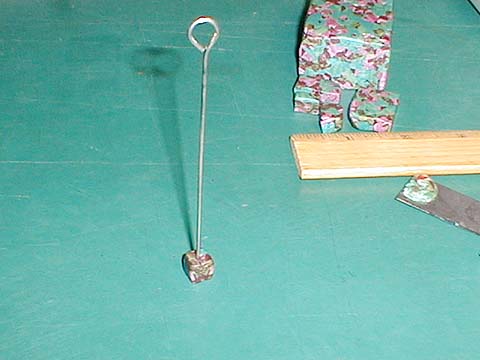 Skewer the bead Backing up to see the size of what we're working with. The amount of clay is about the size of a pea. Skewer the bead square down the middle. I am using a turkey skewer. 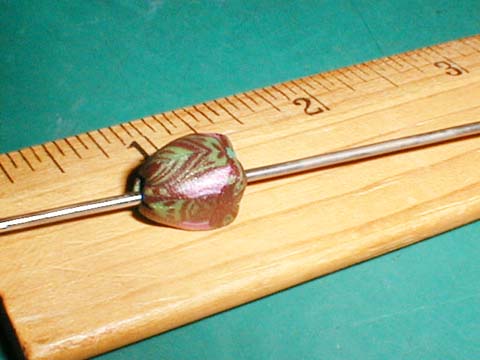 Taper the end Holding the skewer with one hand you shape the end of the square into a tapered end. We're aiming for a round bead so we need to compress those corners. 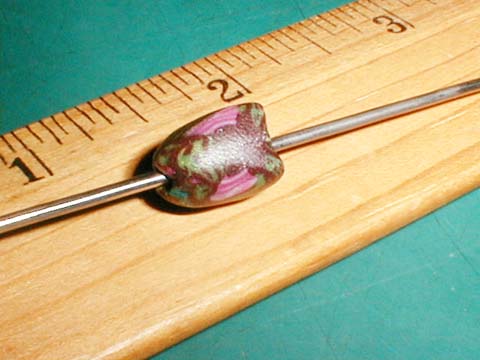 Compress the corners You compress the corners and roll the taper with thumb and forefinger. Making a round natasha bead isn't as hard as you'd imagine. 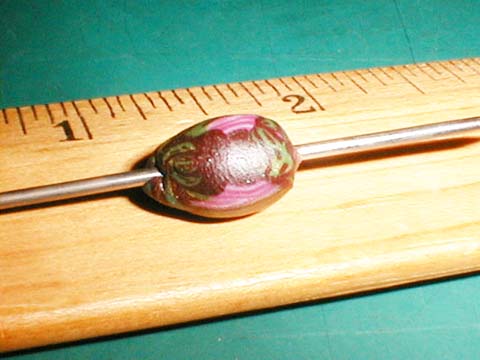 Taper other end Pinch the other end of the natasha bead and make sure the corners are tucked in around the skewer.  Push in towards the middle Once the ends are tapered, the edges compressed, the corners tucked in towards the skewer, push in the ends towards the middle and you'll get a round shape. |
||
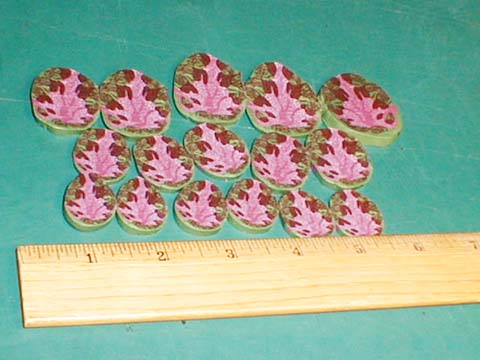
 On the bamboo skewer After you remove the bead from the turkey skewer you can roll it around with your finger tips and you'll know when it's round or if there's bumps that need shaping. Now you put it on a bamboo skewer to prepare for curing. 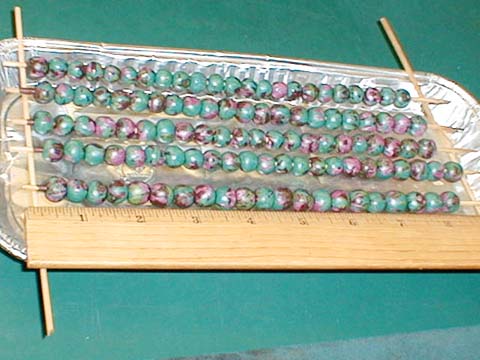 How many beads came from two canes I used up all the chop and toss from the coleus and generic leaf canes. This is how many beads I got from those two canes. 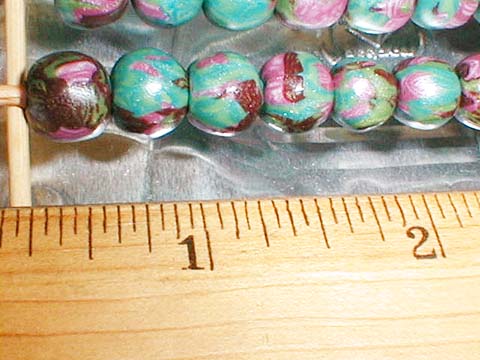 Close up on little round natashas This is a close up to show how small these round natasha beads are. This is what I've been doing with my left over cane and scrap trims. There's no such thing as garbage clay. |
||
|
Home
Monthly Highlights Since 8/2003 | The official Clay vendor for |
ComboTutes:
New and old stuff First Three Years - Biz-Archive NJ Archive 1997-1999 |